Manage Media
Drag images from a local folder into your WordPress Media Library
Keep your image assets in a local folder and upload them to WordPress by dragging. Open the Media Library and a local folder side by side, then drag files directly into the folder you want.
Before you start
- A WordPress site connected and fully paired
- A local folder containing image files you want to upload
Step 1: Add a local folder for your assets
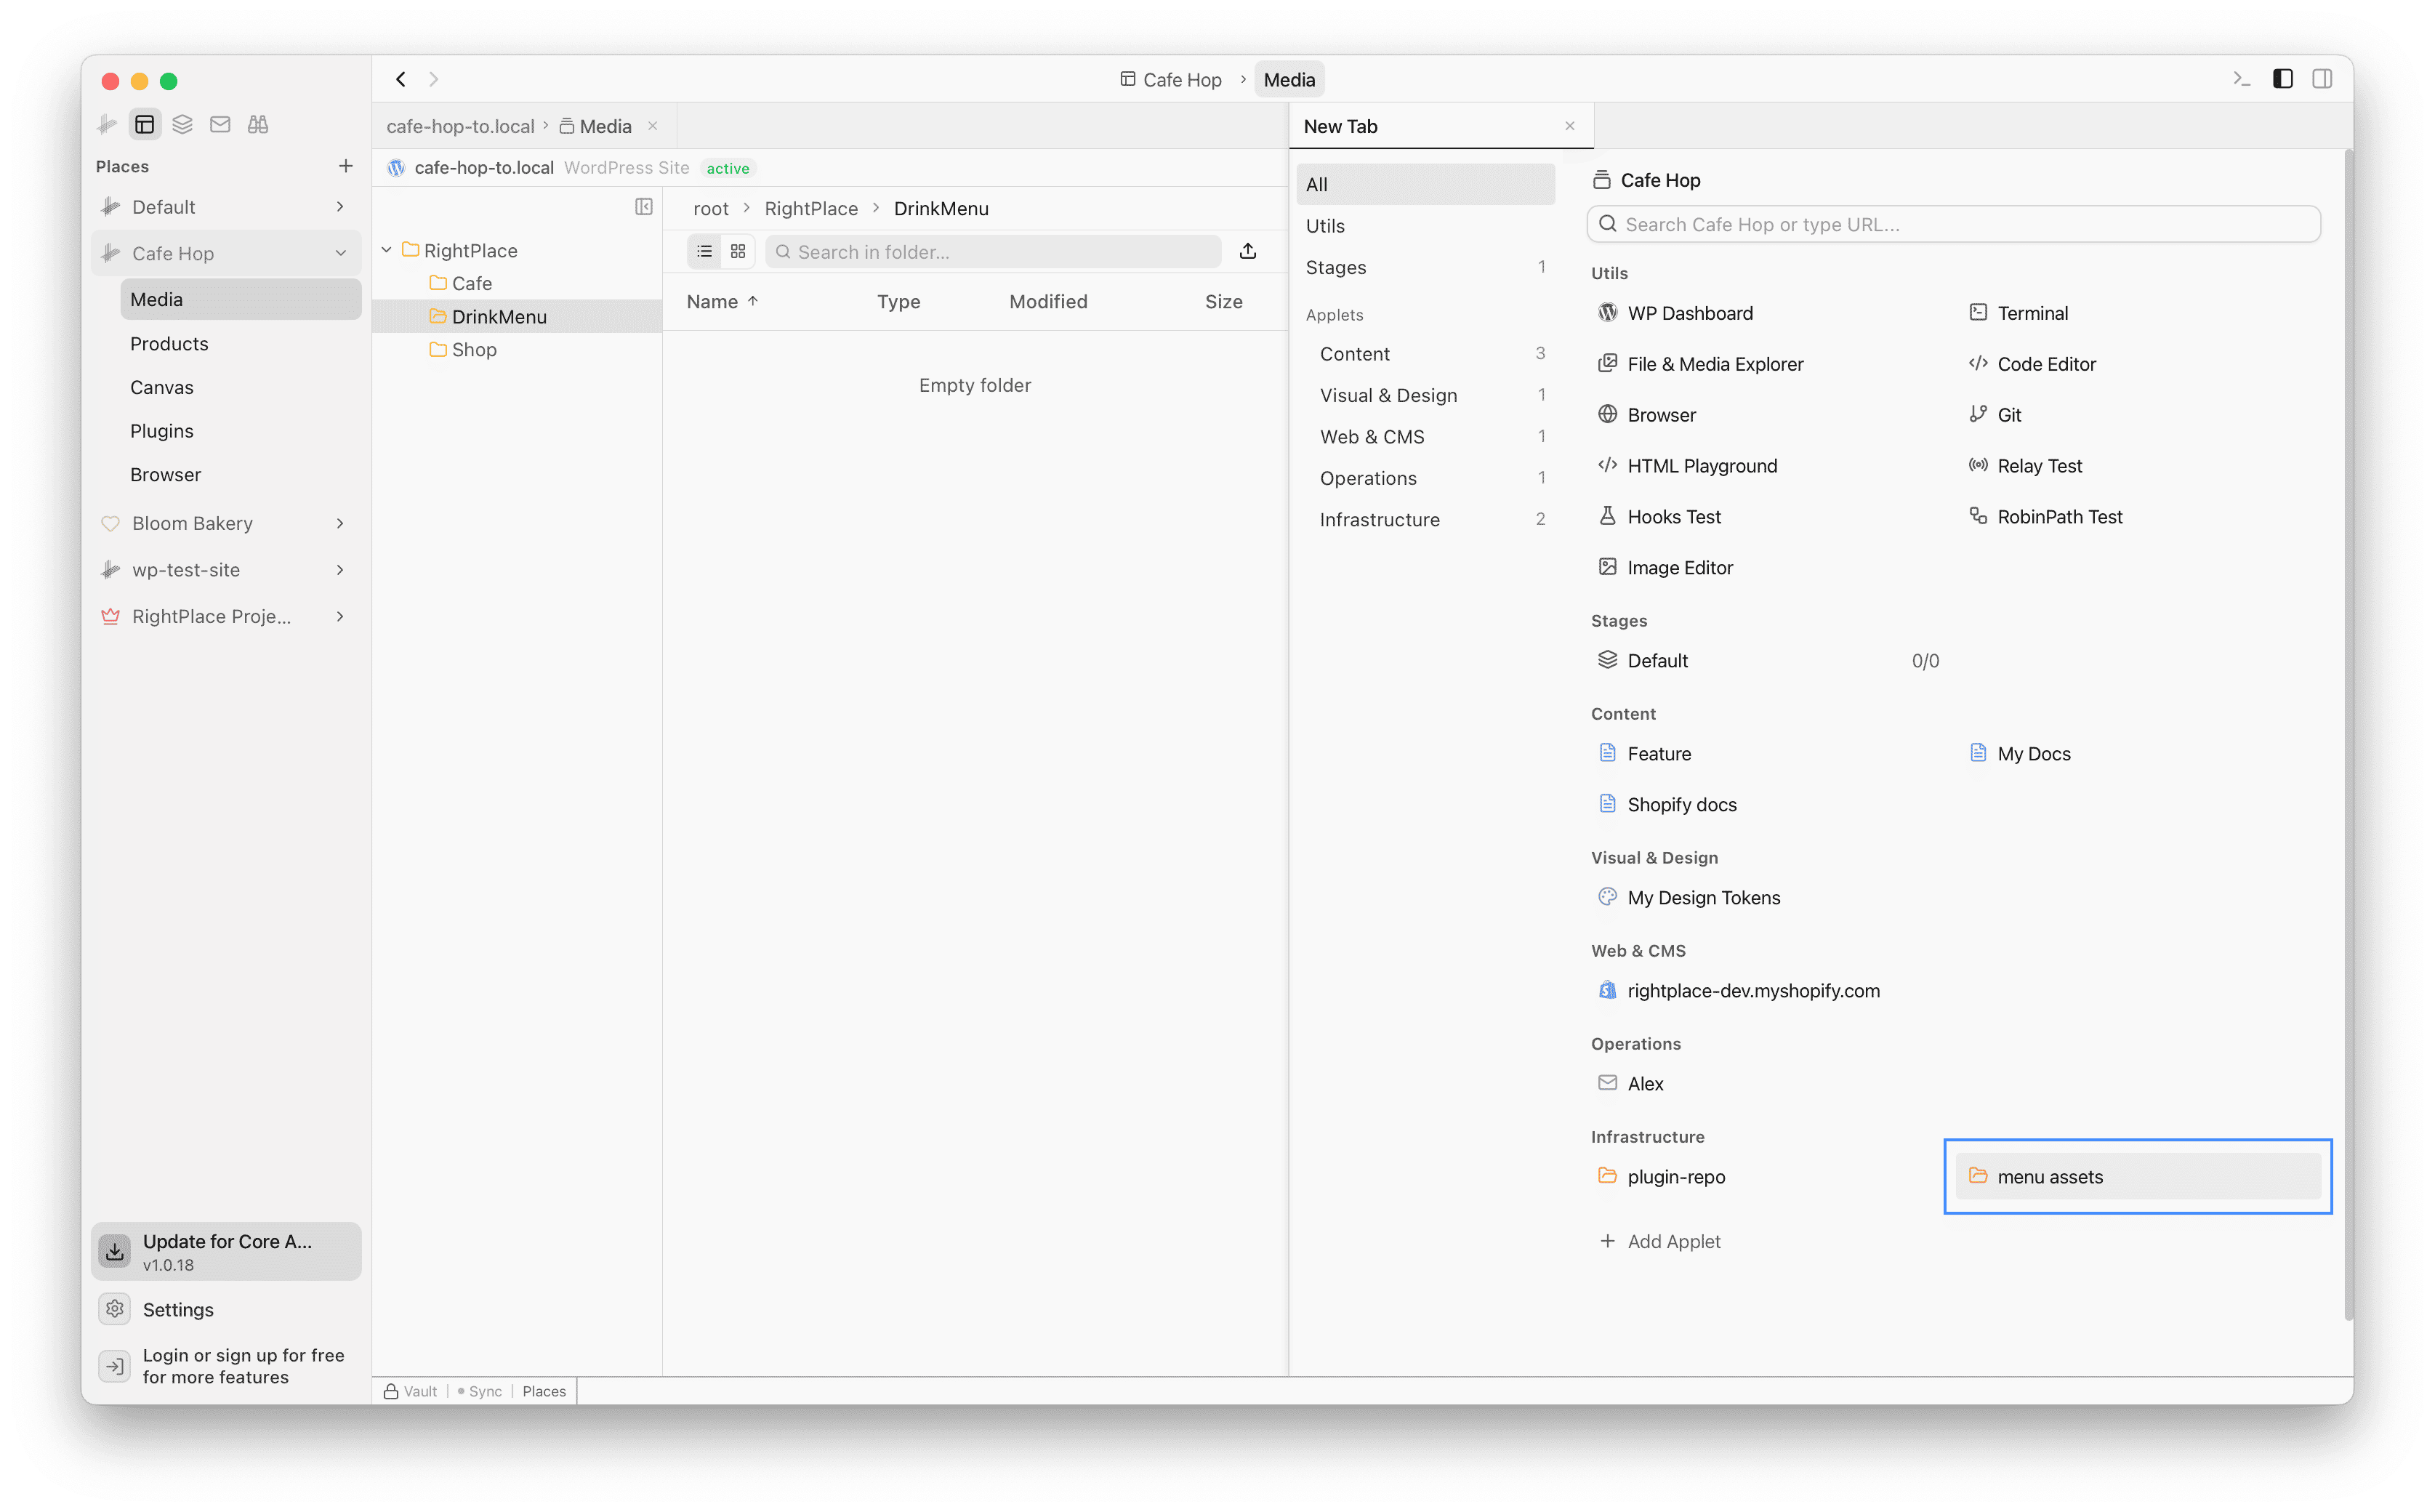
Add a Local Folder pointing to the directory where you keep your image files. Give it a descriptive name like “menu assets” so you can find it in the tab picker.
Step 2: Open WordPress Media
Open a new tab and search for Media to open your WordPress site’s Media page. You will see the Media Library with its folder structure. RightPlace provides its own folder system built in, and also supports third-party folder plugins like HappyFiles or FileBird if you already use one.

Step 3: Open your local folder side by side
Split the pane and open a new tab. Search for your local folder (e.g. “menu assets”) and open it next to the Media panel.
Step 4: Create a new folder (optional)
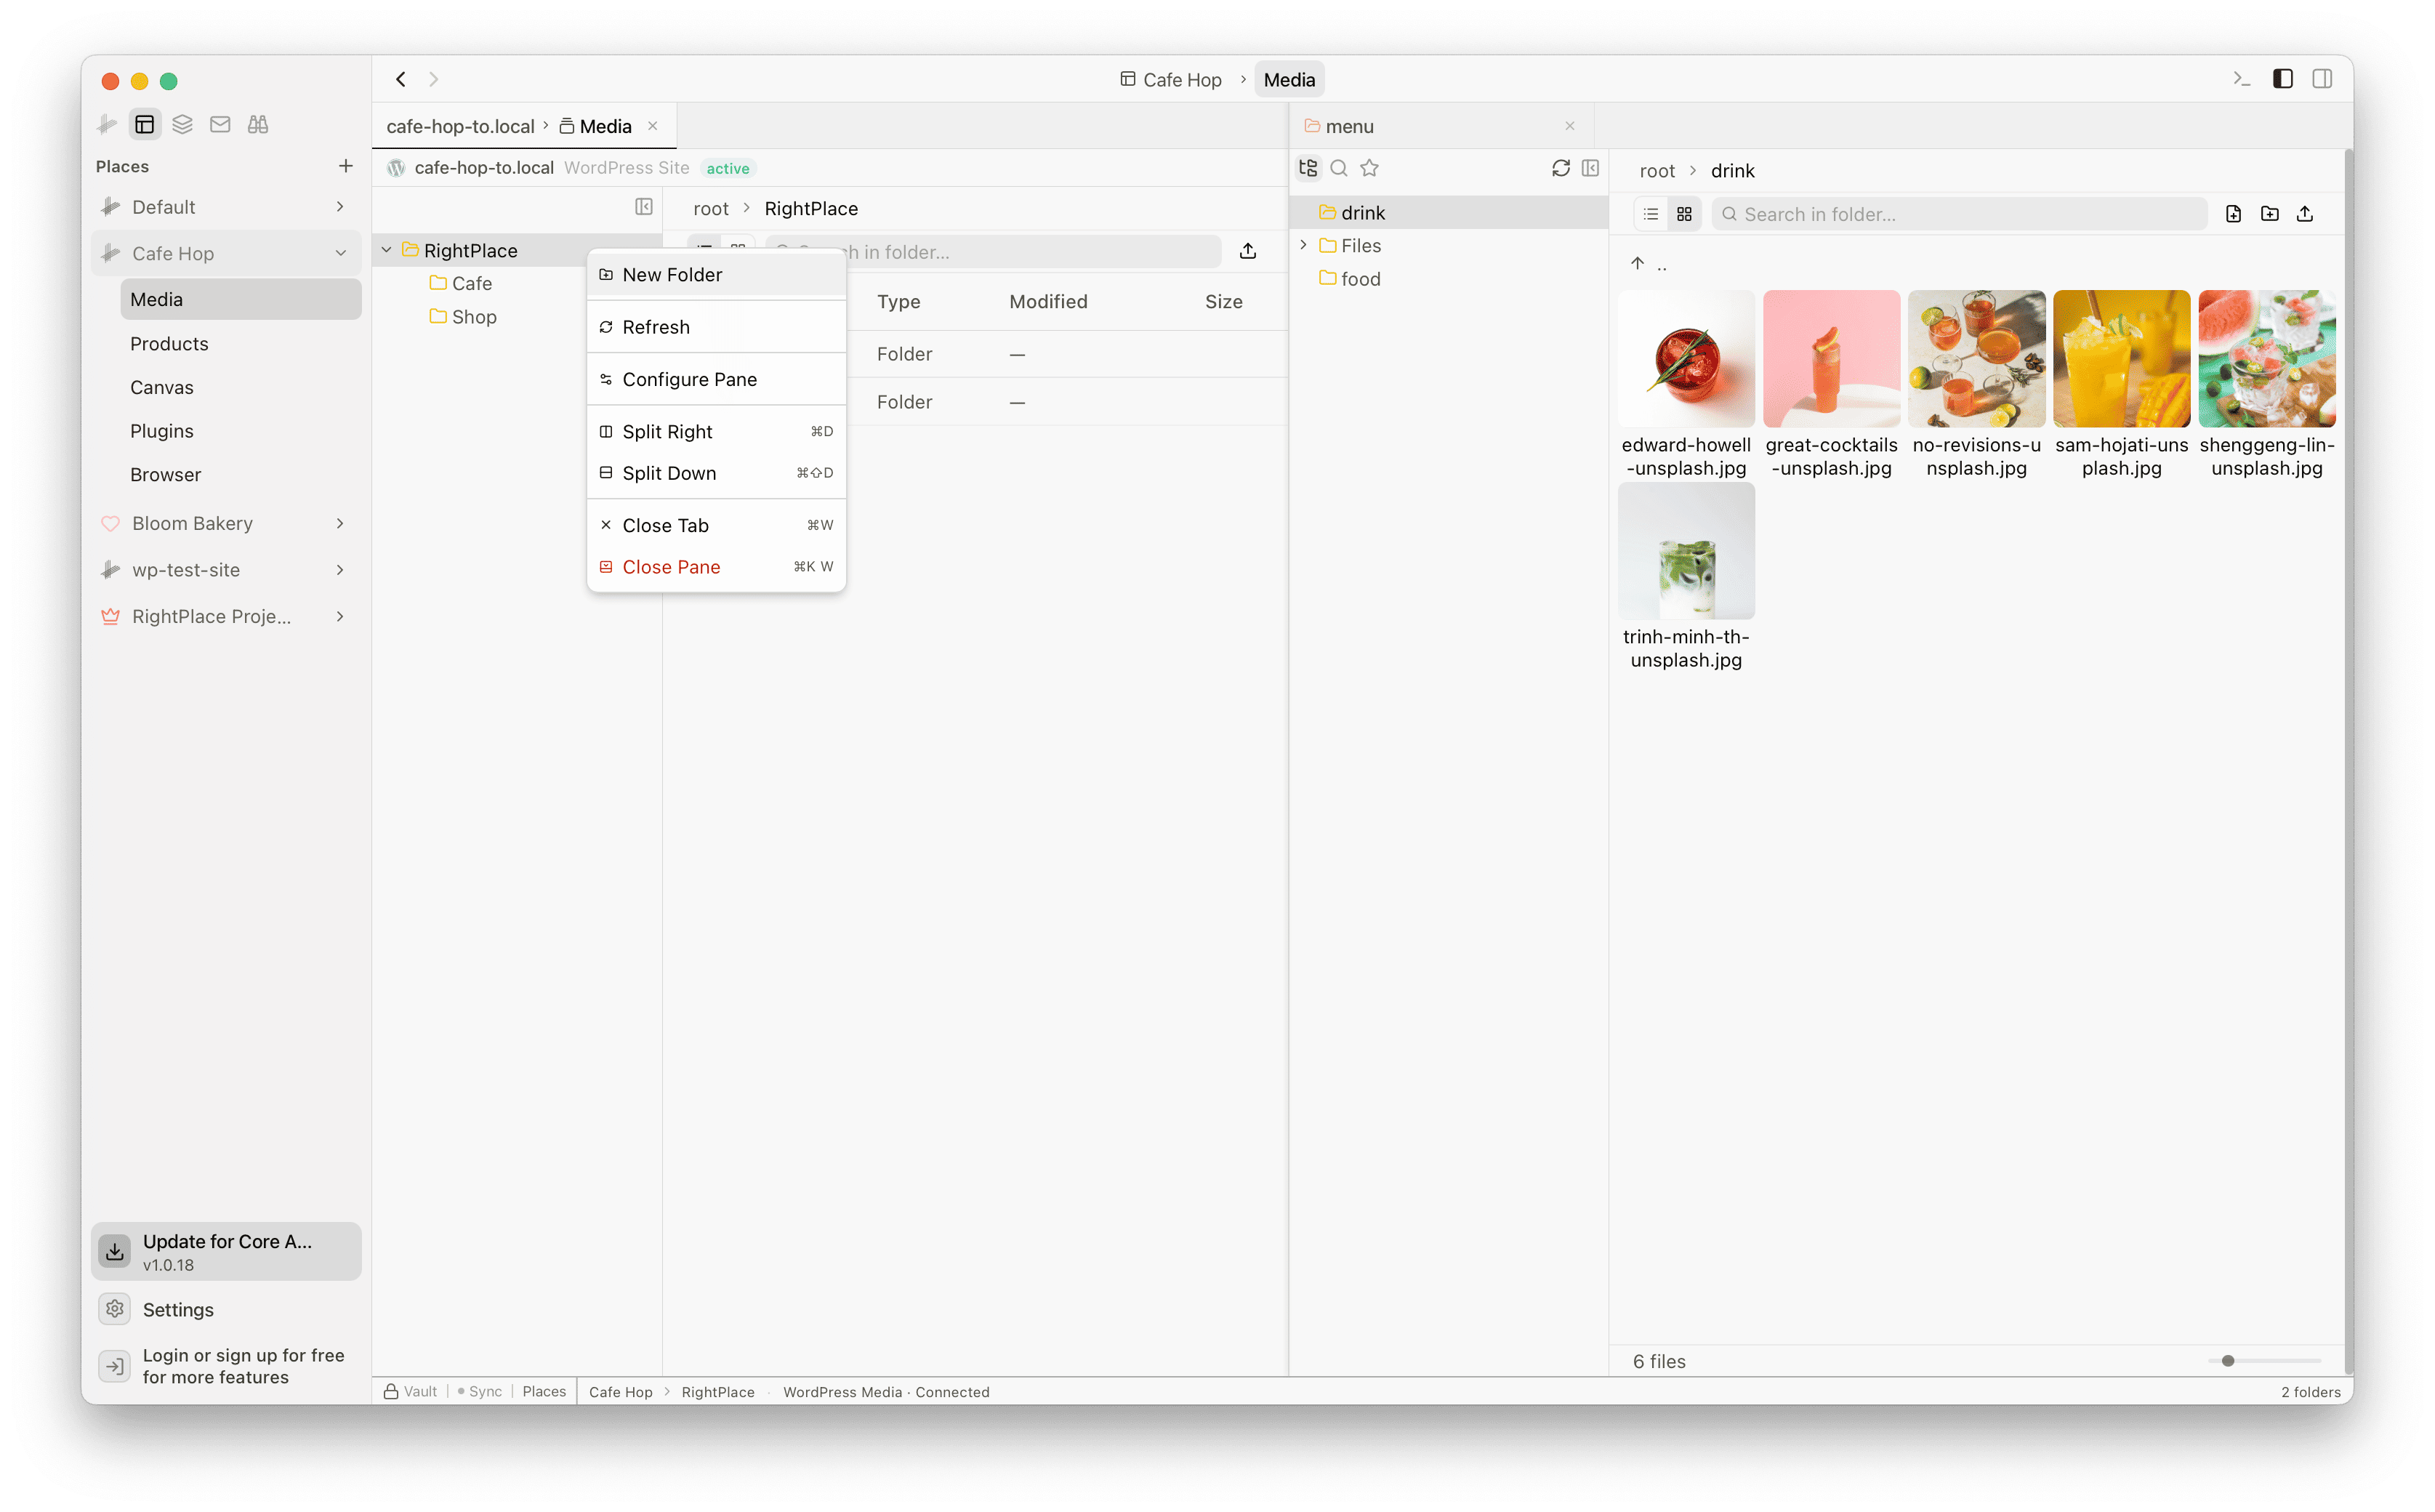
If you want to organize the uploaded images, right-click in the Media folder tree and create a new folder. For example, create a “DrinkMenu” folder to keep your menu photos separate.
Step 5: Drag images to upload
Select images from your local folder and drag them into the WordPress Media folder. RightPlace uploads each file and adds it to the Media Library.
Tips
- Grid view: Switch your local folder to grid view to preview images before uploading.
- Folders: If your WordPress site uses HappyFiles or a similar folder plugin, you can drag images directly into specific folders.
- Bulk upload: Select all images in a folder and drag them at once instead of one by one.
- Multiple sites: The same local asset folder works across all WordPress sites in your project.
Next steps
- Organize Media with Folders: Use folders to keep your WordPress Media Library organized
- Media: Full Media feature reference