Import posts from a spreadsheet
Export CSV from the Spreadsheets applet, then use Import Posts on WordPress to map columns and create posts
You can draft or bulk-edit post data in the Spreadsheets applet, export a CSV file, and bring those rows into WordPress with the same Import Posts wizard you use for any CSV. The spreadsheet holds your working copy; WordPress receives mapped fields as real posts.
Before you start
- A WordPress site connected and fully paired
- A Spreadsheets applet in the same project (see Spreadsheets)
- Row 1 of the sheet reserved for column headers you will map in the import wizard (for example
title,content,status) - If you need custom fields on imported posts, ACF or Meta Box installed on the site, with header names or keys that match what you will map
Step 1: Lay out your sheet for WordPress
Treat each row after the header as one post.
- Put human-readable or machine-friendly header labels in the first row (for example
title,content,post_status,categories). You will match these to WordPress fields in the wizard, so names only need to be consistent and clear to you. - Use one column for post title and one for main body content at minimum.
- For categories or tags, a single cell can list multiple values comma-separated, matching the behavior described in Import Posts from CSV.
Keep formulas and scratch columns out of the export range if you do not want them imported: unmapped CSV columns are ignored.
Step 2: Export CSV from the spreadsheet
- Open your spreadsheet resource and select the sheet tab that contains the data you want to publish.
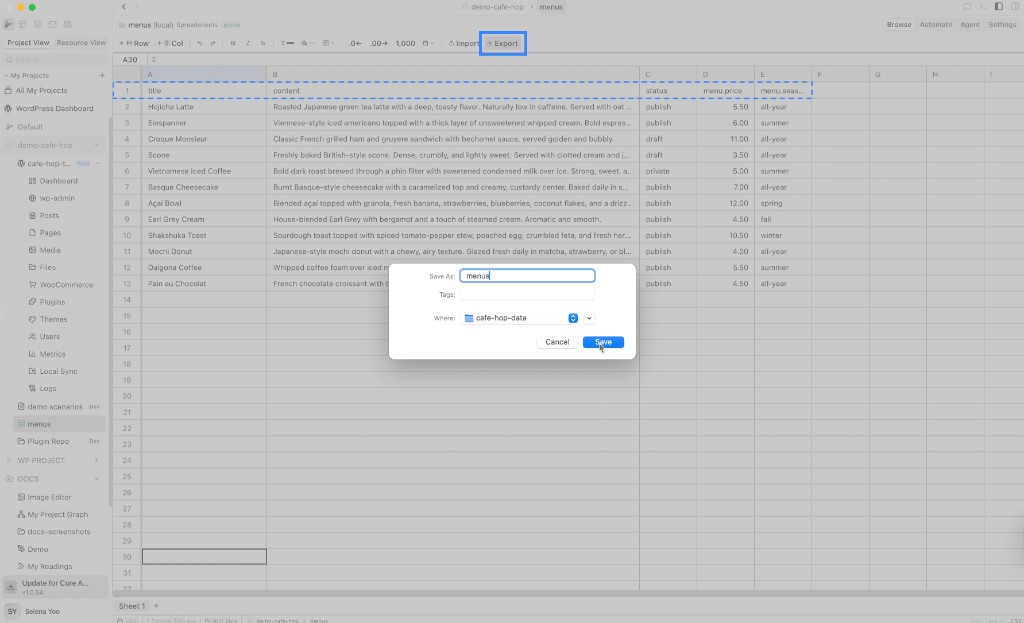
- In the toolbar, click Export (tooltip: Export CSV).
- Choose a filename and location in the save dialog. RightPlace writes a UTF-8
.csvfile.
The example below uses a header row with title, content, status, and custom columns such as menu.price and menu.season, then saves the file (here as menus.csv in a project folder).
If your resource is a CSV File type, export still produces a CSV snapshot you can use the same way.
Step 3: Open Import Posts on WordPress
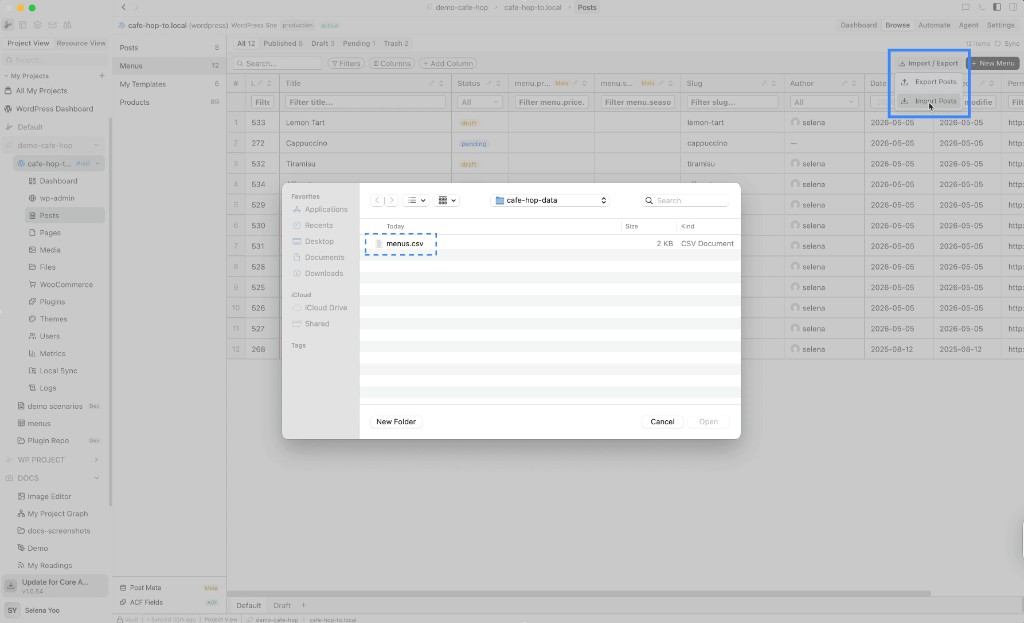
- Open your WordPress resource and go to the Posts tab.
- Click Import / Export in the toolbar, then choose Import Posts.
- When the wizard opens, pick your exported
.csvfile (drag in or browse).
Step 4: Map columns and finish the wizard
Work through the wizard steps: Upload, Preview, Mapping, Options, Import, then Results.
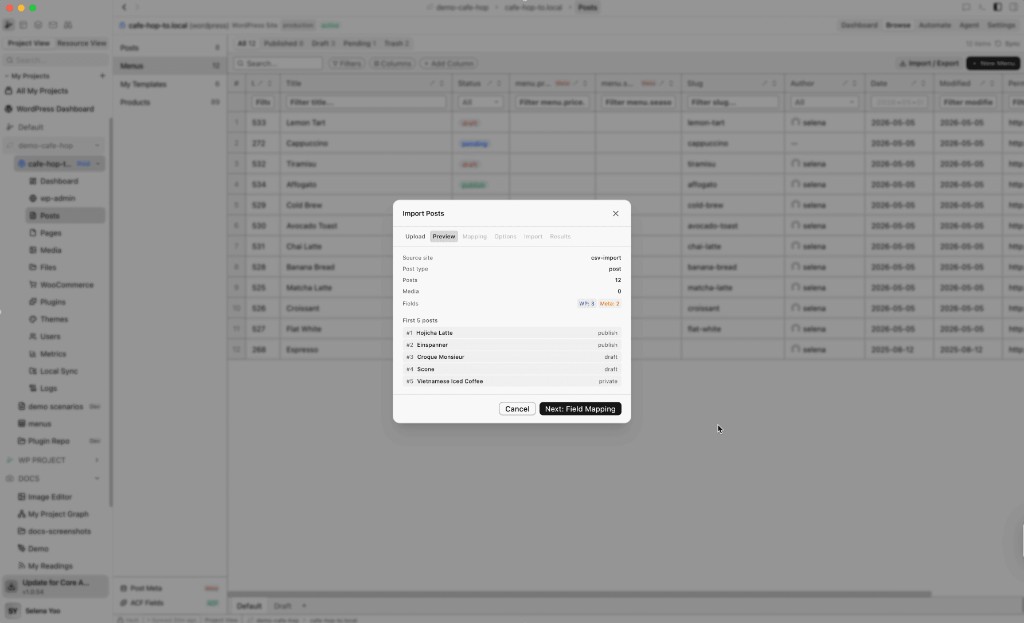
Preview
Confirm the row count, detected WordPress vs meta fields, and the first few titles look correct. Use Next: Field Mapping when you are ready.
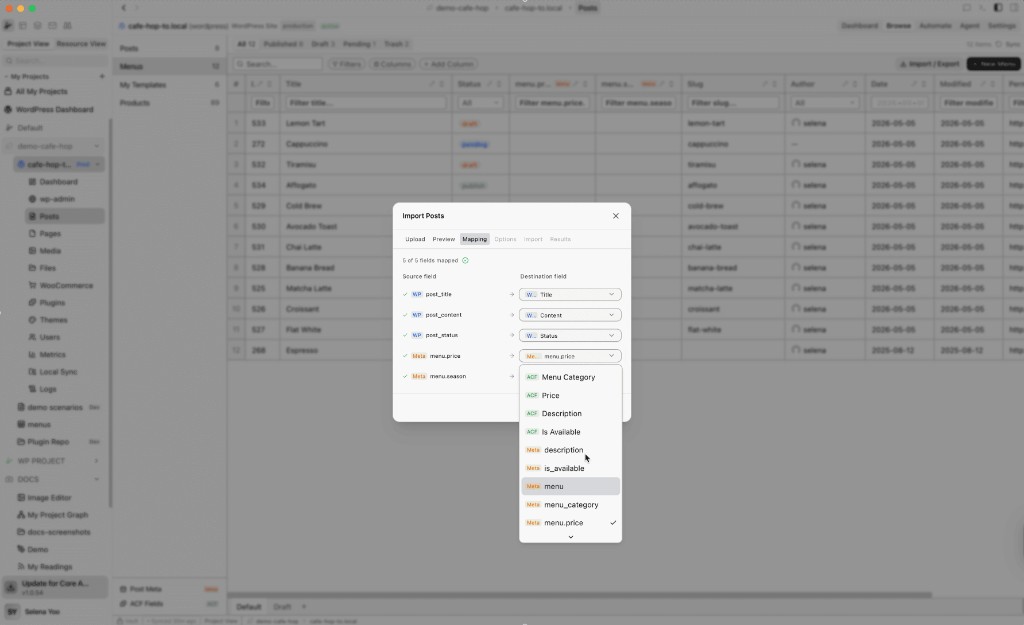
Mapping
Match each source column from the CSV to a destination field (core WordPress fields, ACF, Meta Box, or raw meta). The wizard shows progress such as “5 of 5 fields mapped” when every column you need is assigned.
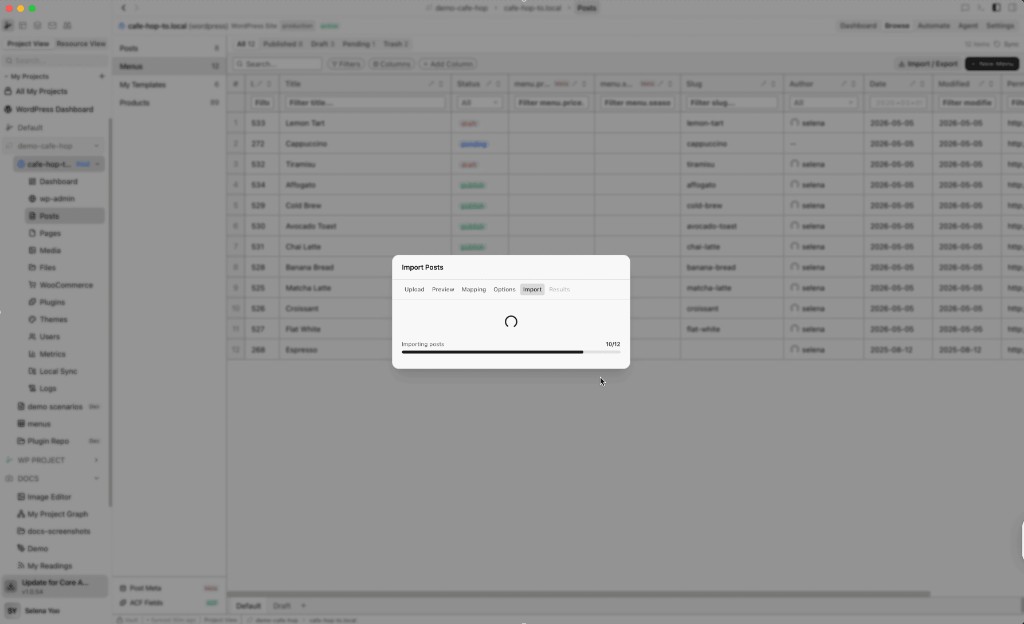
Options, Import, and Results
Set options (default status, author, duplicate handling) as needed, then run Import. You will see a progress state while posts are created; when it finishes, open Results for the summary.
For a full field list and option behavior, see Import Posts from CSV.
After importing
- Return to the Posts tab to review new or updated posts.
- Save a filtered view (for example by status or date) to revisit imports quickly.
- If you rely on custom fields in the table, add those columns per Add Custom Columns.
Tips
- Pilot run: Export a handful of rows (or copy to a temporary sheet), import, fix mapping, then export the full sheet.
- UTF-8: Stick to UTF-8 when saving so special characters survive into WordPress.
- Featured images: Use publicly reachable image URLs in a dedicated column if you map Featured Image.
- Same project: Keeping the spreadsheet and WordPress site in one project makes it easy to iterate: adjust the sheet, re-export, import again with duplicate rules you trust.
Next steps
- Import Posts from CSV: Full wizard reference and mapping examples
- Create Views: Saved views for editorial follow-up
- Spreadsheets: Formats, import into sheets, and toolbar behavior
- Posts: Posts applet reference