Create Views
Create saved views to build an editorial workflow directly in the Posts table
Views let you save a combination of visible columns, sort order, and filters as a named preset. Instead of re-applying the same filters every time, create views like “Drafts to Review” or “Published This Week” and switch between them with one click.
Before you start
- A WordPress site connected and fully paired
- Some existing posts to work with (at least 10+ helps)
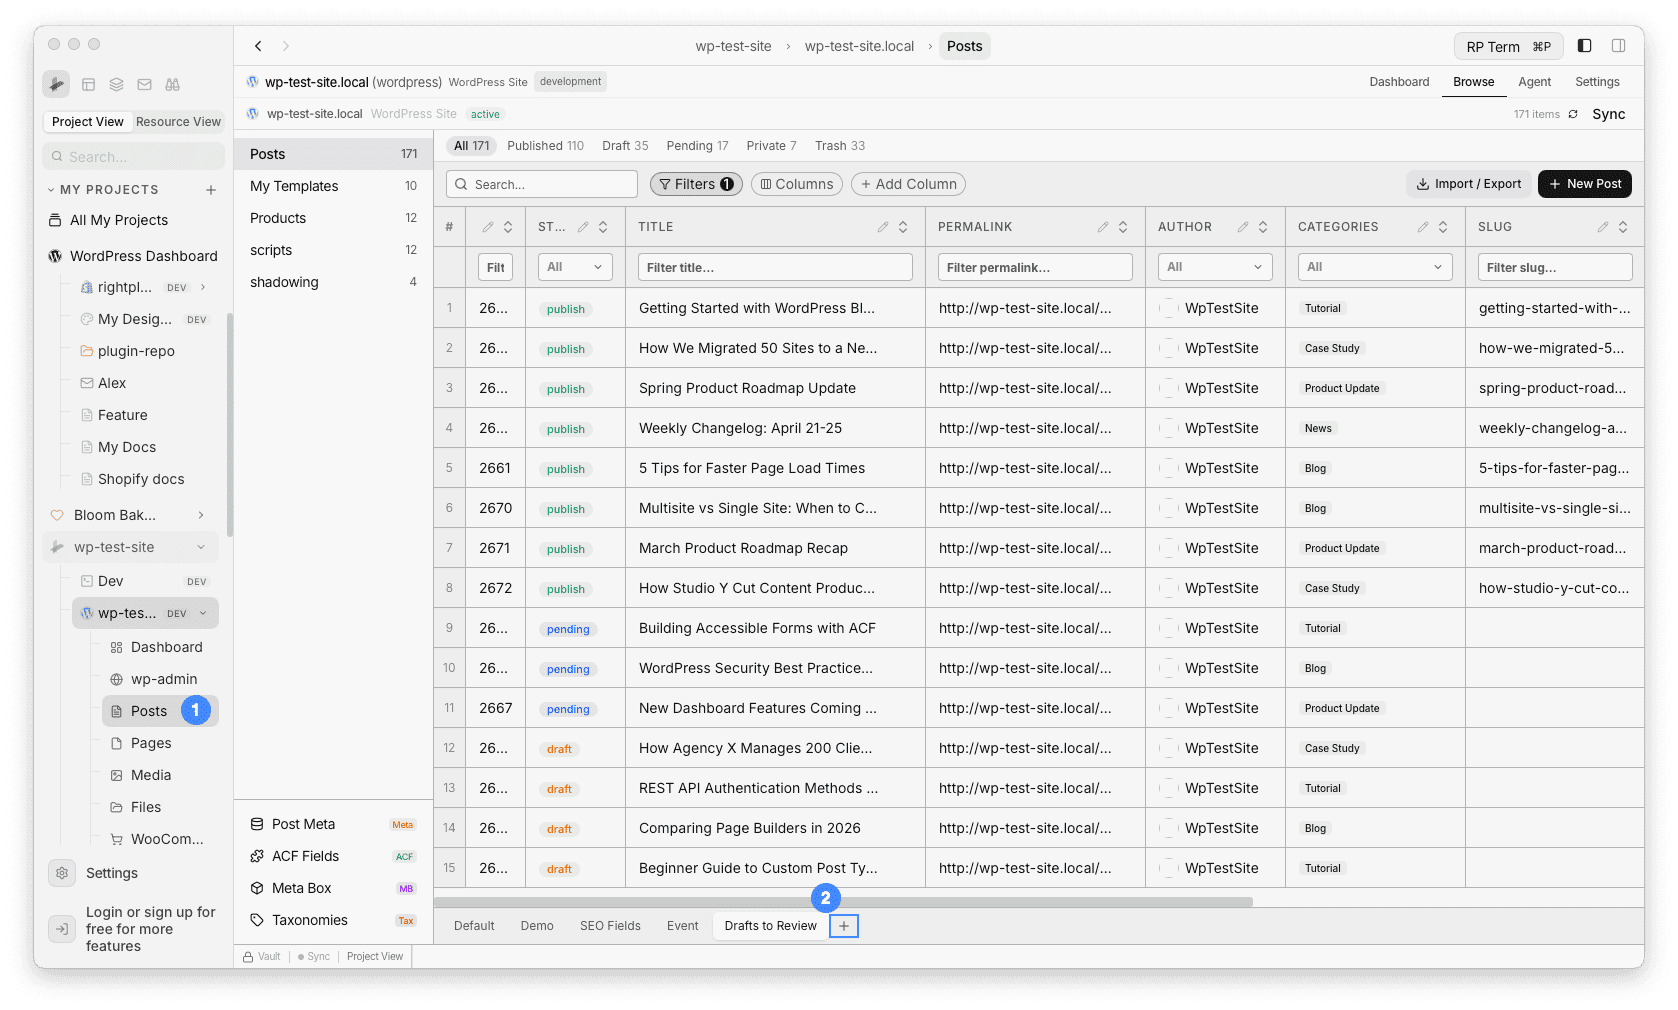
Step 1: Open the Posts tab and create a new view
Click on your WordPress resource and open the Posts tab. Before changing any filters or columns, create a dedicated view first so your Default view stays unchanged:
- Click the + button next to the view tabs at the bottom of the table
- Name it:
Drafts to Review
The new view is now active. Any filter and column changes you make from here are saved to this view automatically.
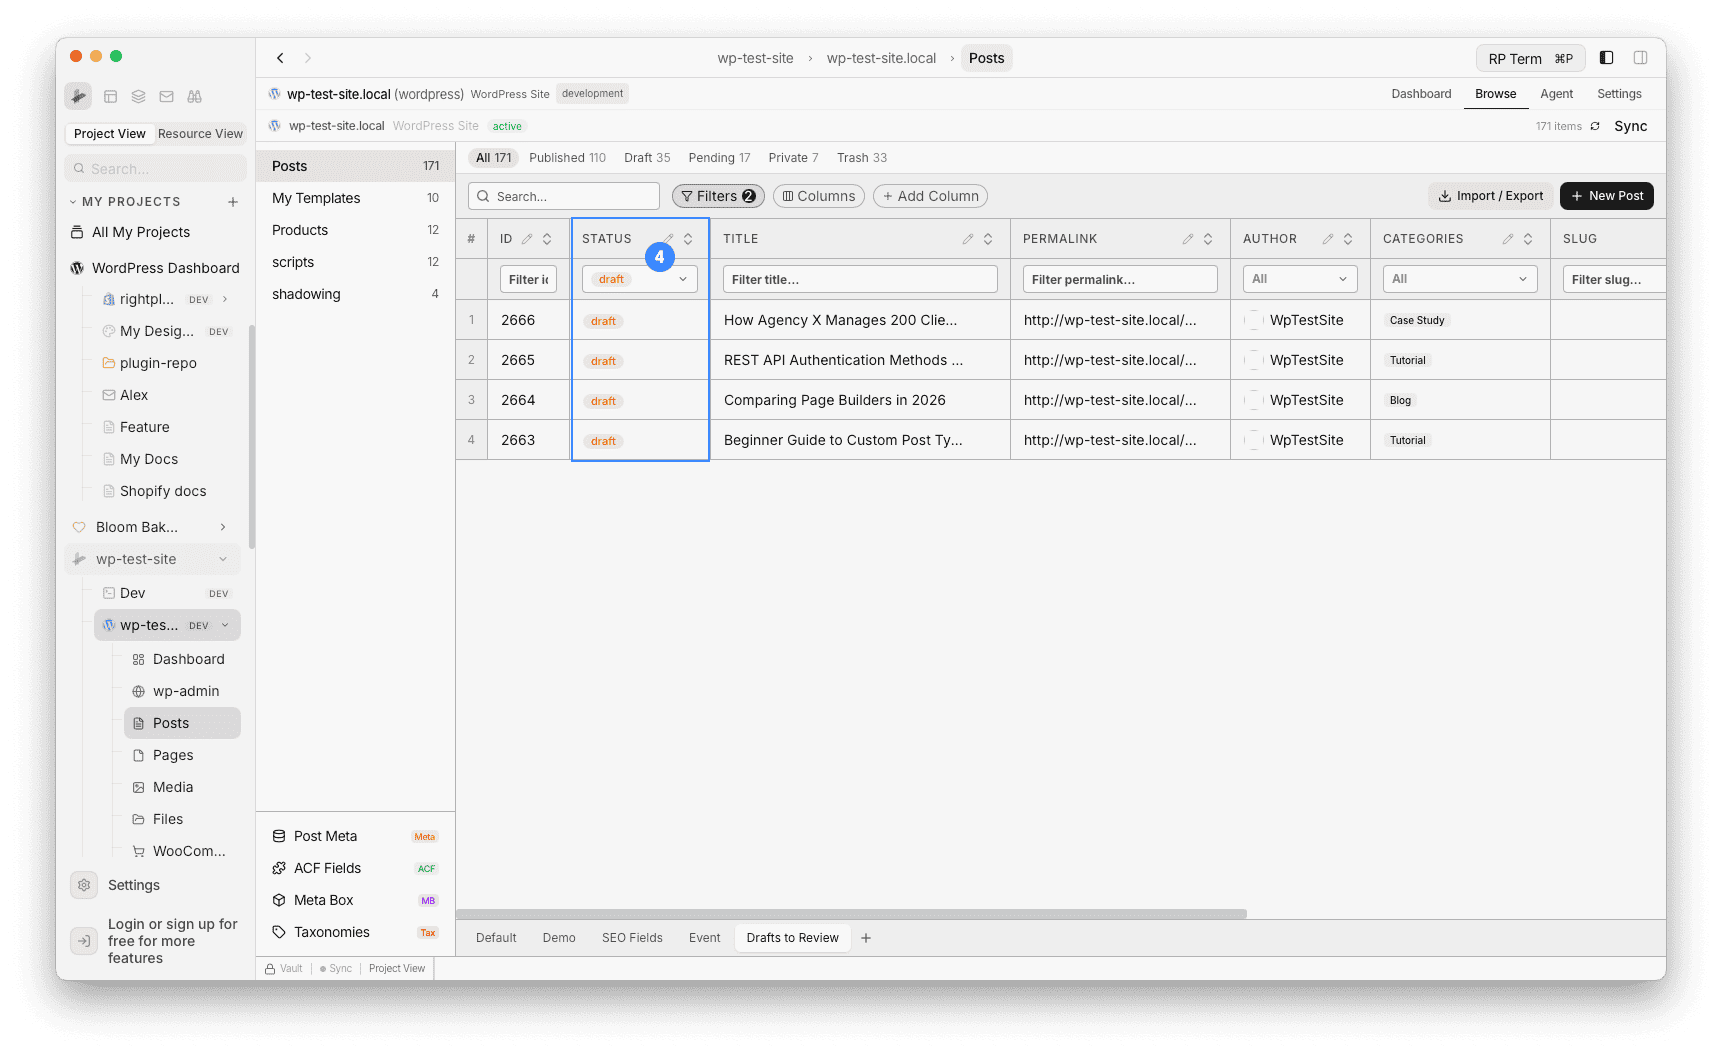
Step 2: Set up filters
Use the filter row below the column headers to narrow down posts. For example, to see only drafts:
- Click the Status filter dropdown
- Select draft
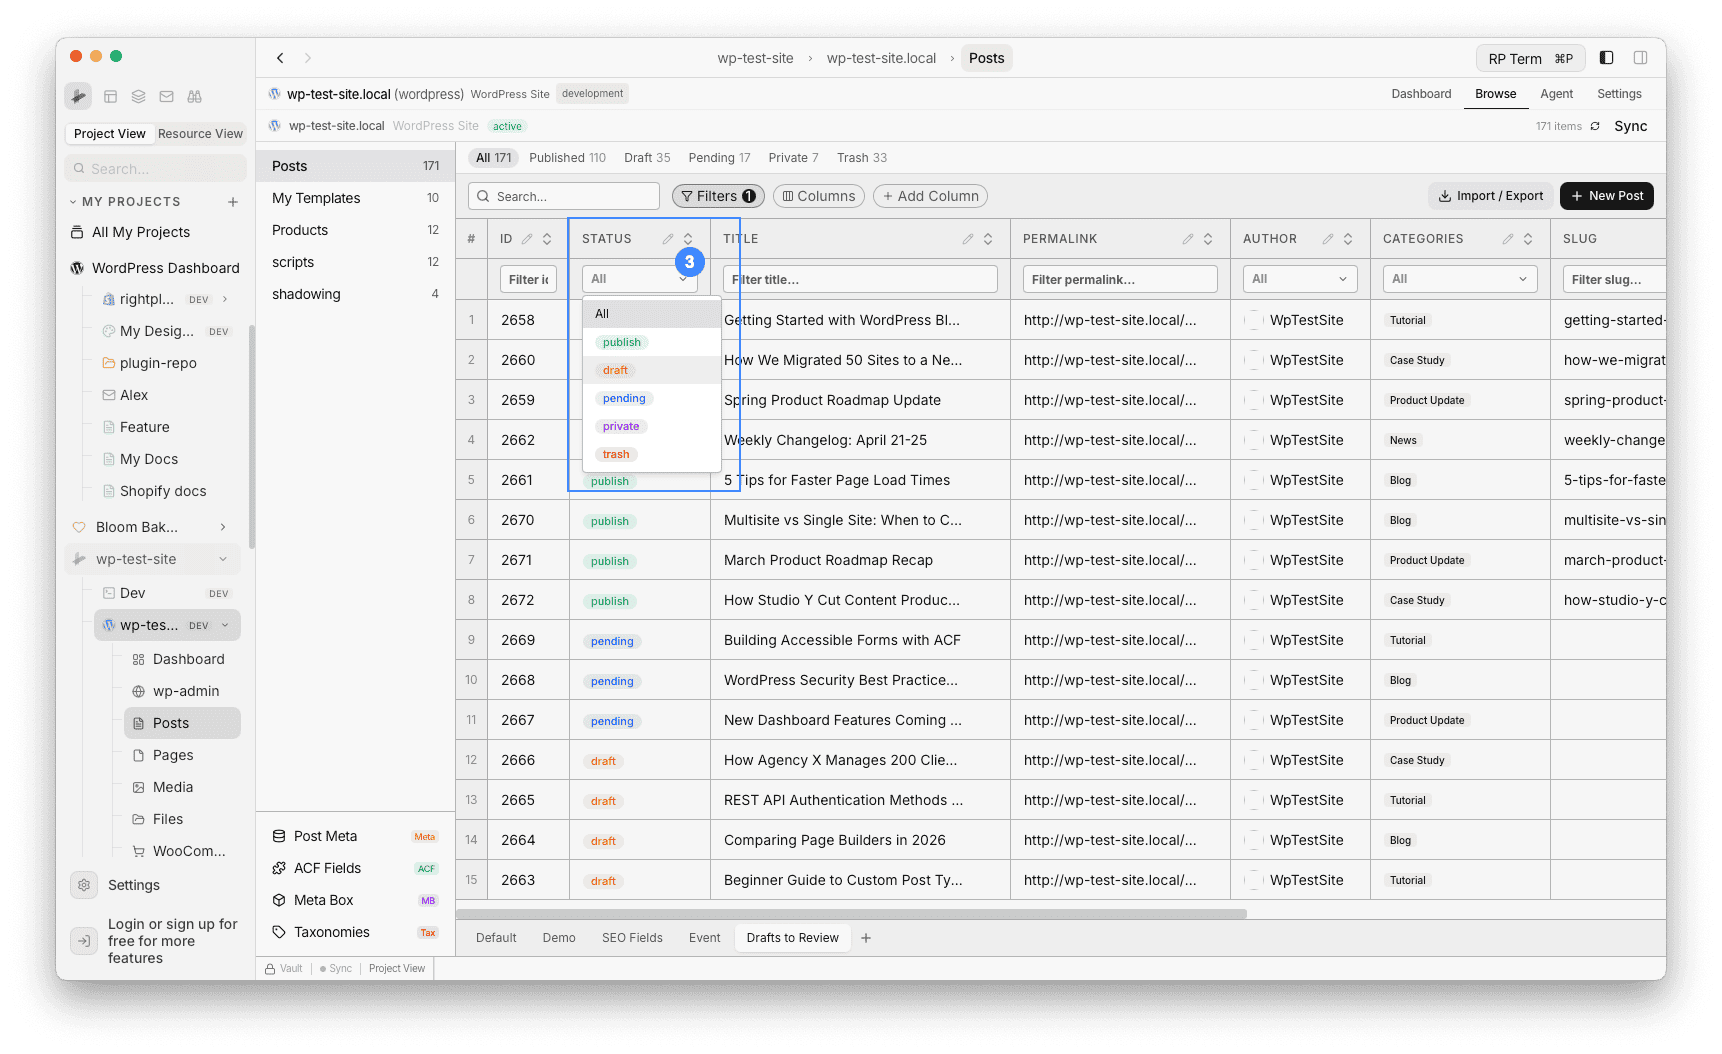
The table now shows only draft posts.
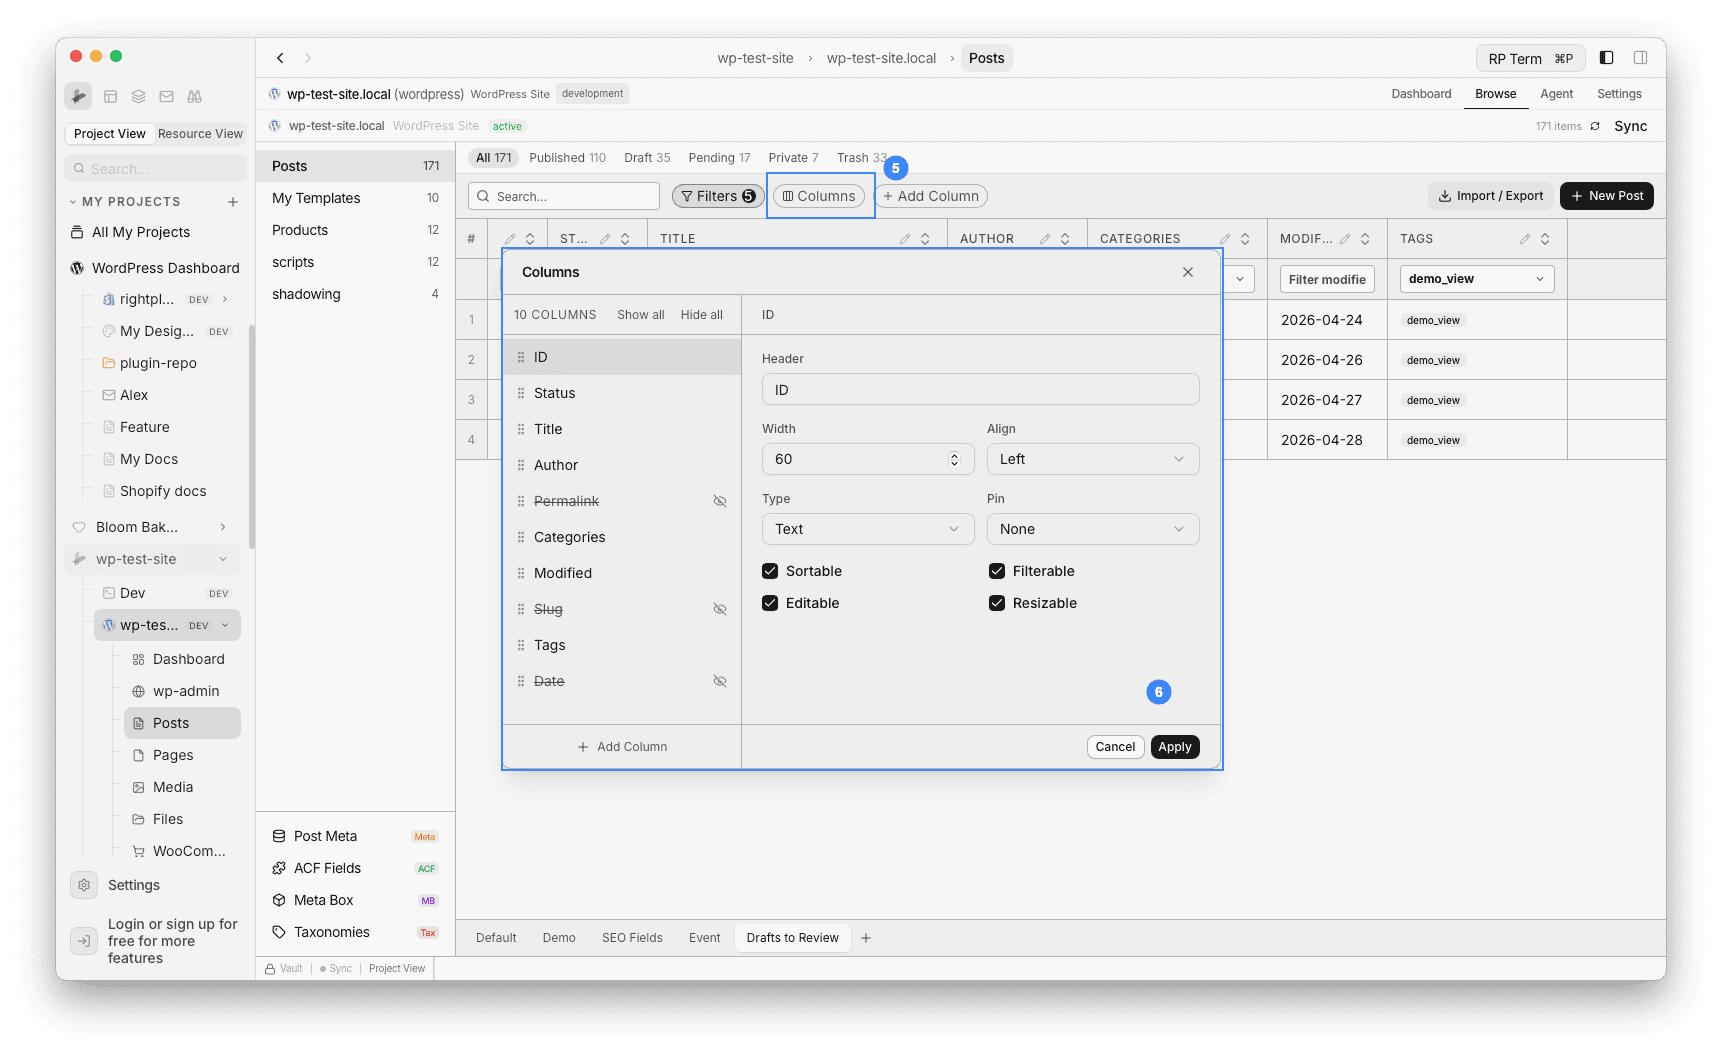
Step 3: Configure columns
Click Columns in the toolbar to open the column manager. For a “Drafts to Review” view, you might want:
- Title (always visible)
- Status
- Author
- Categories
- Modified (sorted descending, so recently edited drafts appear first)
Hide columns you do not need for this workflow by clicking the eye icon. Click Apply when done.
Step 5: Create more views
Repeat the process (create view, then set filters and columns) to build a set of editorial views:
| View Name | Filters | Key Columns | Sort |
|---|---|---|---|
| Drafts to Review | Status = Draft | Title, Author, Modified, Categories | Modified (newest) |
| Pending Review | Status = Pending | Title, Author, Date, Categories | Date (newest) |
| Published This Week | Status = Published, Date = last 7 days | Title, Date, Categories, Permalink | Date (newest) |
| My Posts | Author = me | Title, Status, Date, Categories | Modified (newest) |
| Needs Images | Status = Draft, Featured Image = empty | Title, Status, Author | Modified (newest) |
Step 6: Switch between views
Use the view selector to jump between views instantly. Each view restores its saved columns, filters, and sort order. The table updates immediately.
Adding custom field columns to views
Views become more powerful when combined with custom fields. For example:
- Add an ACF field like
seo_scoreorreading_timeas a column - Filter or sort by that field
- Save the view as “SEO Review”
See Display Custom Fields for how to add ACF, Meta Box, and Post Meta fields to your table.
Tips
- One view per task: Create views that match your daily tasks. Instead of filtering manually each morning, just click the view name.
- Column width matters: Adjust column widths for each view. A “Review” view might need a wider Title column, while a “Published” view might need more room for Permalink.
- Rename and delete: Right-click a view in the selector to rename or delete it. Views are stored per-resource, so each WordPress site has its own set.
- Default view: The first view in the list is your default. Arrange views so your most-used one appears first.
Next steps
- Display Custom Fields: Add ACF, Meta Box, and Post Meta fields to your table
- Posts: Full Posts feature reference